
How to batch print Shopify labels across connected carrier accounts
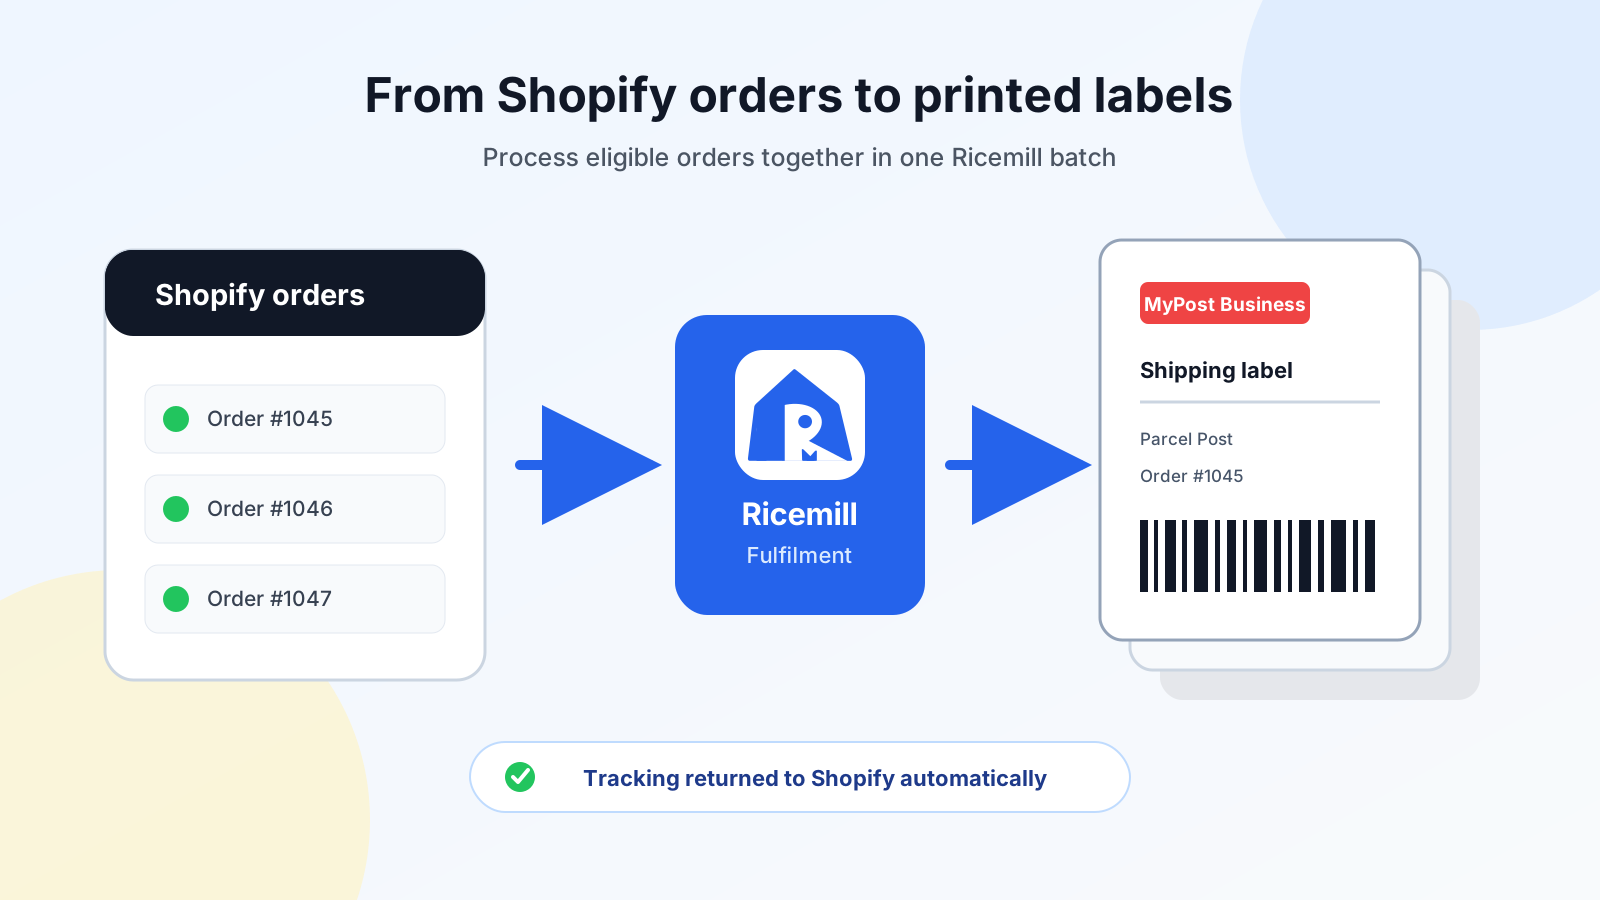
Ricemill | Fulfilment brings paid, unfulfilled Shopify orders and supported carrier services into one workflow. Process eligible orders in batches, print labels using connected carrier accounts and return tracking details to Shopify automatically.
The use case: batch fulfil Shopify orders across connected carriers
Ricemill | Fulfilment gives Australian Shopify merchants one workflow for processing orders with supported connected carrier accounts. A team can select eligible orders in batches, review shipment details, assign available carrier services, print labels and return tracking information to Shopify.
The operational problem appears as order volume and carrier requirements grow. Staff may need to check parcel details, choose different services, work across several carrier accounts and keep every Shopify order updated. Re-entering the same delivery information or switching between separate workflows adds repeated work and makes exceptions harder to spot.
Ricemill brings those steps together. Customer and delivery details flow from Shopify into the fulfilment queue, while services and account rates come from the supported carrier accounts connected to Ricemill.
The solution: one workflow from order selection to tracking
With Ricemill batch fulfilment, a team can:
- Process eligible Shopify orders in batches.
- Apply package measurements to selected groups of shipments.
- Compare available services from supported connected carrier accounts.
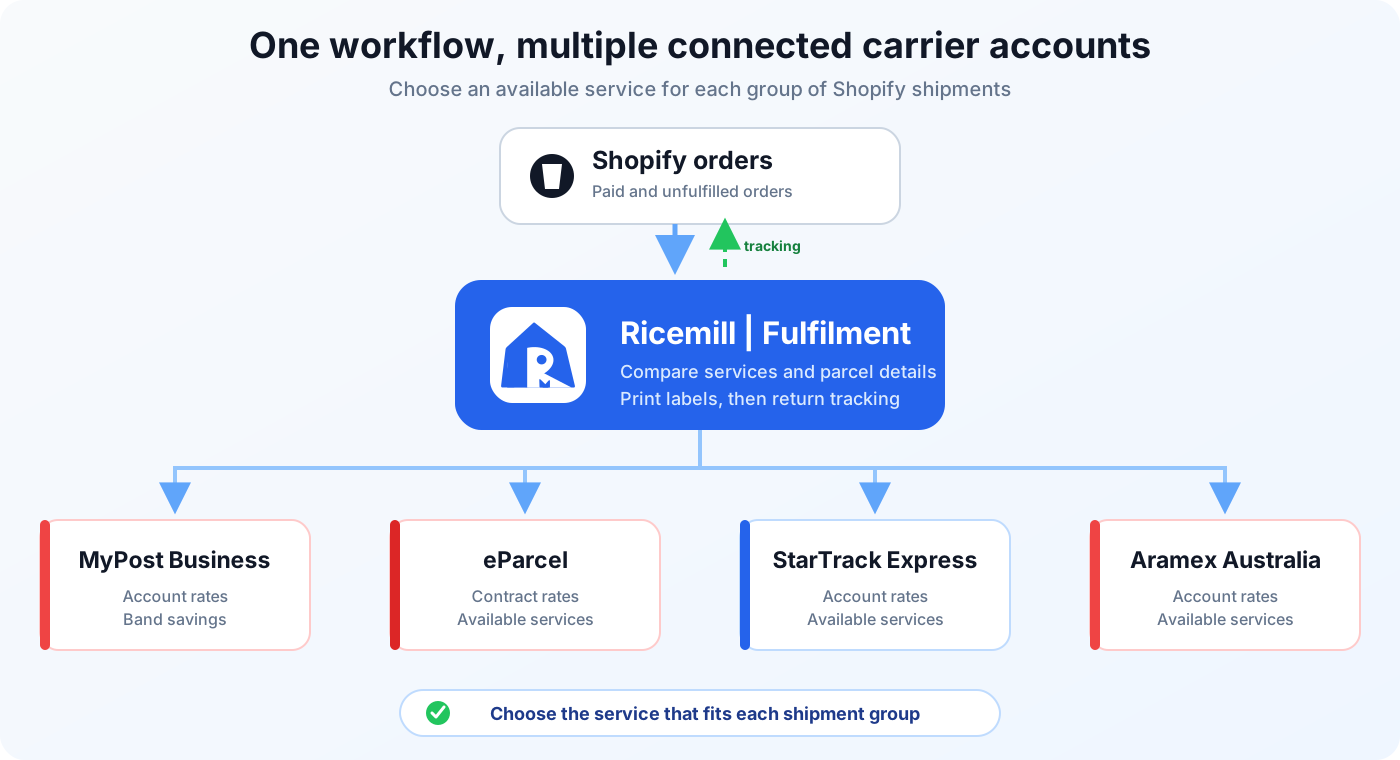
- Print MyPost Business, eParcel, StarTrack Express or Aramex Australia labels using the relevant account rates. View all available integrations.
- Use available MyPost Business band savings through the connected account.
- Return carrier and tracking details to Shopify automatically.
- Add predefined packages, multiple stores, multi-user access and shipping rules on applicable plans.
How to bulk print MyPost Business labels for Shopify
The following workflow uses MyPost Business as the example. The same batch screen can also show available services from other supported carrier integrations connected to Ricemill. This lets a team group shipments by carrier, service or parcel details without copying Shopify order information into separate carrier portals.
Before beginning, you need a Ricemill | Fulfilment plan that includes batch fulfilment, a connected Shopify store and your own supported carrier account. Shopify locations must also be mapped to the correct fulfilment locations in Ricemill.
1. Connect Shopify and MyPost Business
Connect your Shopify store so eligible orders can be imported into Ricemill. Then connect your MyPost Business account to make your enabled Australia Post services and account rates available during fulfilment.
If either connection still needs to be completed, follow the guides to set up the Shopify integration and set up the MyPost Business integration.
2. Select the Shopify orders to fulfil
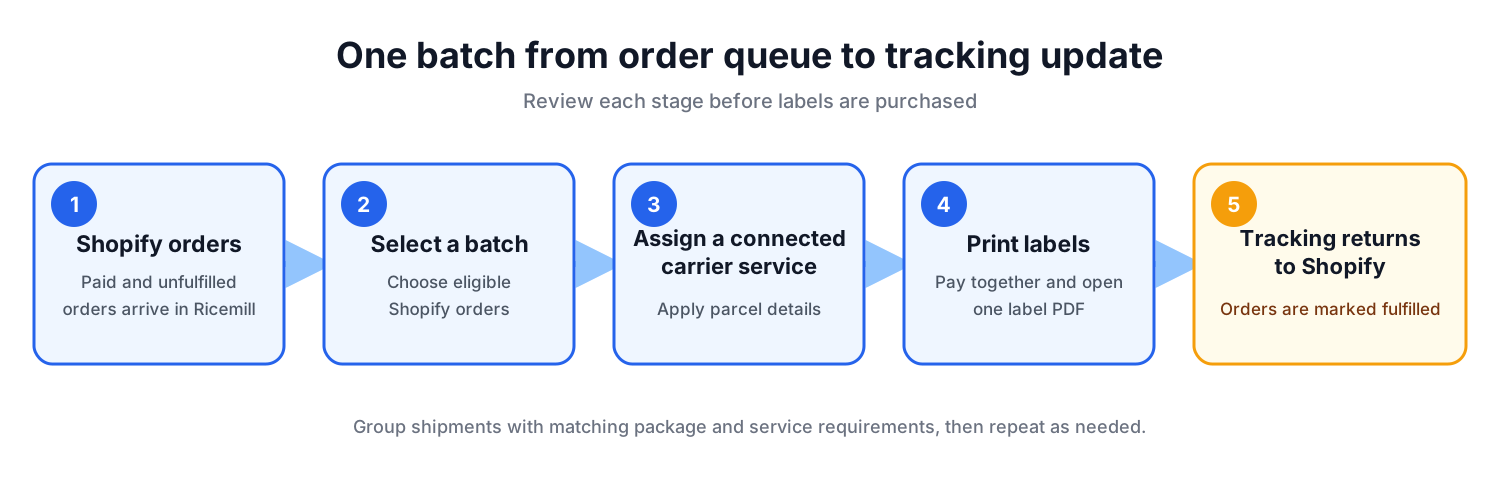
In Ricemill | Fulfilment, open Orders and select the eligible orders you want to process. Click Batch fulfil orders, confirm the selection and choose the fulfilment location that will dispatch them. Ricemill creates the shipments and opens the batch fulfilment screen.
Orders that are not ready for the batch remain available for later. This lets the team group work by dispatch location, package type or another practical fulfilment rule.
3. Review the shipment details
Before buying labels, review each recipient address, shipping method, weight and parcel dimensions. Ricemill flags shipments that need attention, giving the team an opportunity to correct an invalid address or add missing shipment information before continuing.
When a batch contains different package sizes or service requirements, select and process matching shipments in groups.
4. Assign a connected carrier service
Select the shipments that share the same parcel details, then click Assign service. Enter the weight and dimensions or choose a predefined package. Add any optional delivery information, such as delivery instructions or a sender reference.
Under Integrated carrier services, choose the appropriate MyPost Business service and save it. If other supported carriers are connected, their available services appear here too. Repeat the process for other groups when the carrier, service or package details differ. The batch carrier-service guide shows the controls in more detail.
5. Generate and print the labels
After every shipment in the batch has a carrier service assigned, click Generate labels. Review the MyPost Business label summary and quantities before continuing.
Click Pay and print labels to submit the batch to MyPost Business and open the label PDF for printing. Australia Post charges the payment method associated with the MyPost Business account at this point, so check the shipment details before confirming payment.
The label PDF can also be downloaded and printed later. Australia Post makes generated labels available for 24 hours, so save or print the file within that period.
6. Keep Shopify updated automatically
There is no need to copy tracking numbers back into Shopify. After the labels are created, Ricemill returns the carrier and tracking details and marks the relevant Shopify orders as fulfilled.
This keeps the order record current and helps customers receive the dispatch and tracking updates configured in Shopify without another round of data entry.
How Ricemill helps the fulfilment team
The workflow keeps the information needed to prepare and complete each shipment together:
- Connected carrier accounts. Work with MyPost Business, eParcel, StarTrack Express and Aramex Australia from the same fulfilment workspace.
- Account-controlled rates. Available services and prices continue to come from the connected carrier accounts.
- Shipment grouping. Process orders in practical groups when carrier, service, parcel or dispatch-location requirements differ.
- Additional workflow controls. Applicable plans add predefined packages, multiple stores, multi-user access and configurable shipping rules in beta.
- Automatic Shopify updates. Carrier and tracking details return to Shopify when fulfilment is completed.
Who is this workflow for?
This workflow is a good fit for Australian Shopify businesses that:
- Regularly process several paid, unfulfilled orders at the same time.
- Use MyPost Business, eParcel, StarTrack Express or Aramex Australia.
- Need to group shipments with different parcel or service requirements.
- Want carrier and tracking details returned to Shopify after labels are created.
- Manage multiple stores or need shared fulfilment access and shipping rules.
Common questions about batch printing Shopify labels
Can Ricemill process Shopify orders in batches?
Yes. Ricemill | Fulfilment can batch fulfil eligible Shopify orders and print their labels together. Shipments can be grouped by dispatch location, carrier, service or parcel requirements before labels are purchased.
Which carrier accounts can connect to Ricemill?
Ricemill | Fulfilment supports MyPost Business, Australia Post eParcel, StarTrack Express and Aramex Australia. Available services, prices and account access depend on the connected carrier account.
Is batch fulfilment limited to MyPost Business?
No. This use case focuses on MyPost Business, but Ricemill can also show available services from other supported carrier integrations connected to the account. Select and process shipments in groups when their carriers or service requirements differ.
Does Ricemill return tracking details to Shopify?
Yes. After labels are created, Ricemill sends the carrier and tracking details to Shopify and marks the relevant orders as fulfilled. Shopify can then send the customer notifications configured for the store.
Do I need my own carrier account?
Yes. Ricemill connects Shopify to the merchant's existing supported carrier accounts. Available services, account rates, postage charges and payment methods remain determined by each carrier account.
Start bulk printing MyPost Business labels
If repeated order processing or separate carrier workflows are slowing the fulfilment team down, review Ricemill | Fulfilment and choose a plan that supports the required shipment volume, stores and workflow features. Then connect Shopify and the relevant carrier accounts to begin processing orders.
Install Ricemill | Fulfilment from the Shopify App Store to get started.